🚑 Quick Instructions
Here are some quick instructions (for the detailed instructions see below):
Run the follwing SQL script under the desired site’s database. Make sure to replace the distinguished text with the desired values, and keep the quotes exactly as shown here.
⭐ Adding a User:
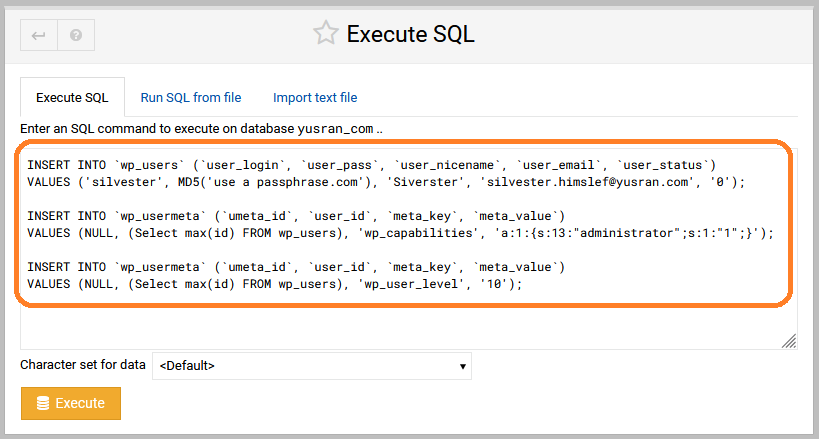
INSERT INTO `wp_users` (`user_login`, `user_pass`, `user_nicename`, `user_email`, `user_status`)
VALUES ('SomeNewUserName', MD5('SomeLongPassPhrase'), 'DisplayNameForUser', 'EmailAddressForNewUser', '0');
INSERT INTO `wp_usermeta` (`umeta_id`, `user_id`, `meta_key`, `meta_value`)
VALUES (NULL, (Select max(id) FROM wp_users), 'wp_capabilities', 'a:1:{s:13:"administrator";s:1:"1";}');INSERT INTO `wp_usermeta` (`umeta_id`, `user_id`, `meta_key`, `meta_value`)
VALUES (NULL, (Select max(id) FROM wp_users), 'wp_user_level', '10');⭐ Removing a User:
SET @user_id = (SELECT id FROM wp_users WHERE user_login = 'SomeExistingUserName');
DELETE FROM wp_users WHERE id = @user_id;
DELETE FROM wp_usermeta WHERE user_id = @user_id;
Using the SQL code execution service in Virtualmin is buggy (as of 2023-07-30). The code must be run from a file.
🧾 Detailed Instructions
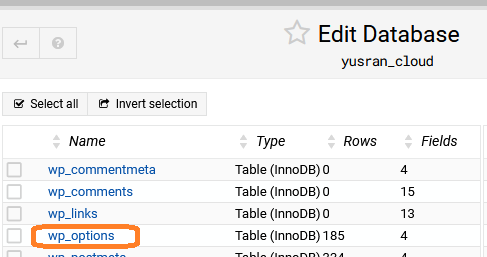
1. Find the name of your site’s database
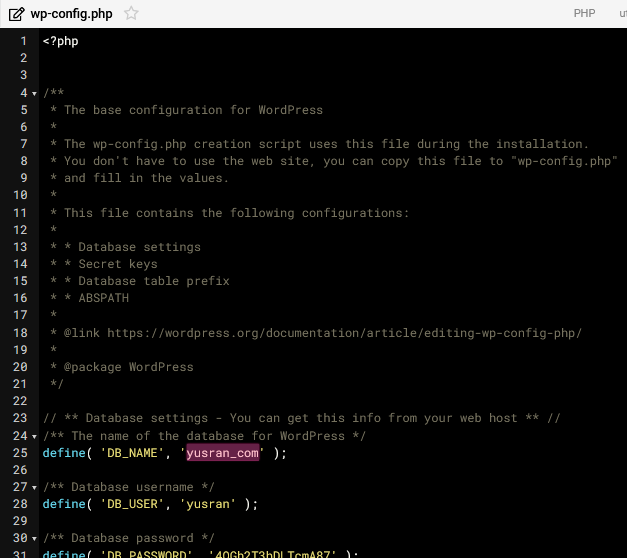
- Using Virtualmin’s File Manager, or SSH (if you prefer SSH), locate the file
wp-config.php, and view its contents to see what’s the database name.
2. Run the SQL query
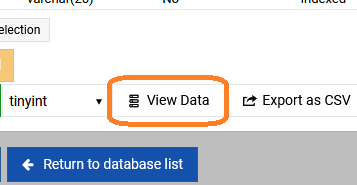
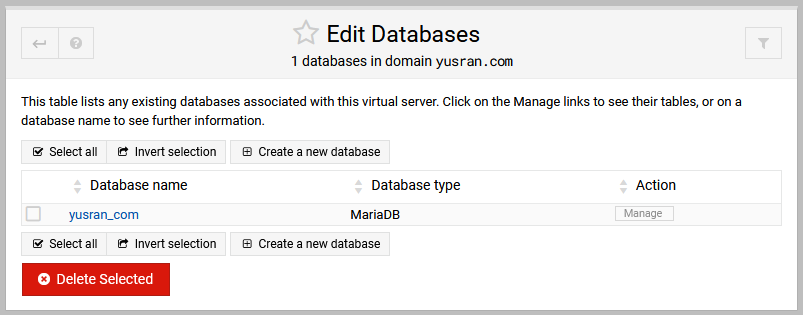
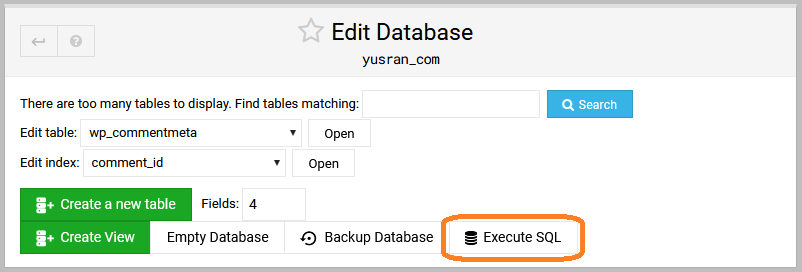
- Head over to the Database Editor, and click the button titled
Managenext to the database you found in the previous step.
- On the next page, click the button
Excute SQL.
- Enter the SQL query, change the values to the information of new user you want to add (or delete).
- Alternatively, switch to the section titled
Run SQL from file, and upload a text file that contains your query.
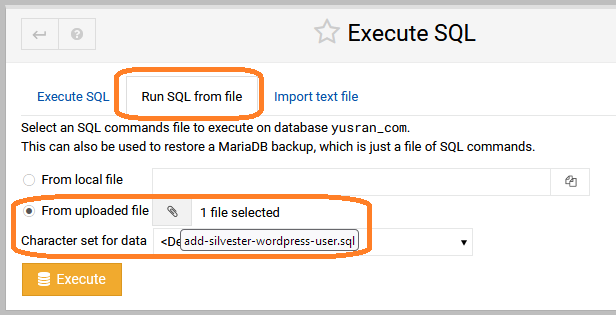
- Click Execute. And you’re good to go.
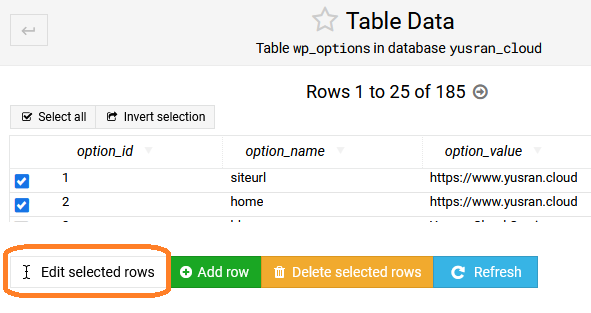
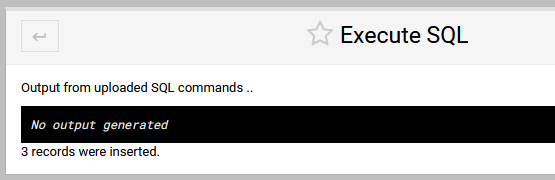
The result would look something like this:
3. Test it out
- If you’ve added a new user, now would be a good time to head over to your WordPress login page to try the new user.
The wordpress login screen is usually located at an address like: https://www.example.com/wp-login.php